Essential Tools for Installing Colorbond Fencing in Melbourne
Table Of Contents
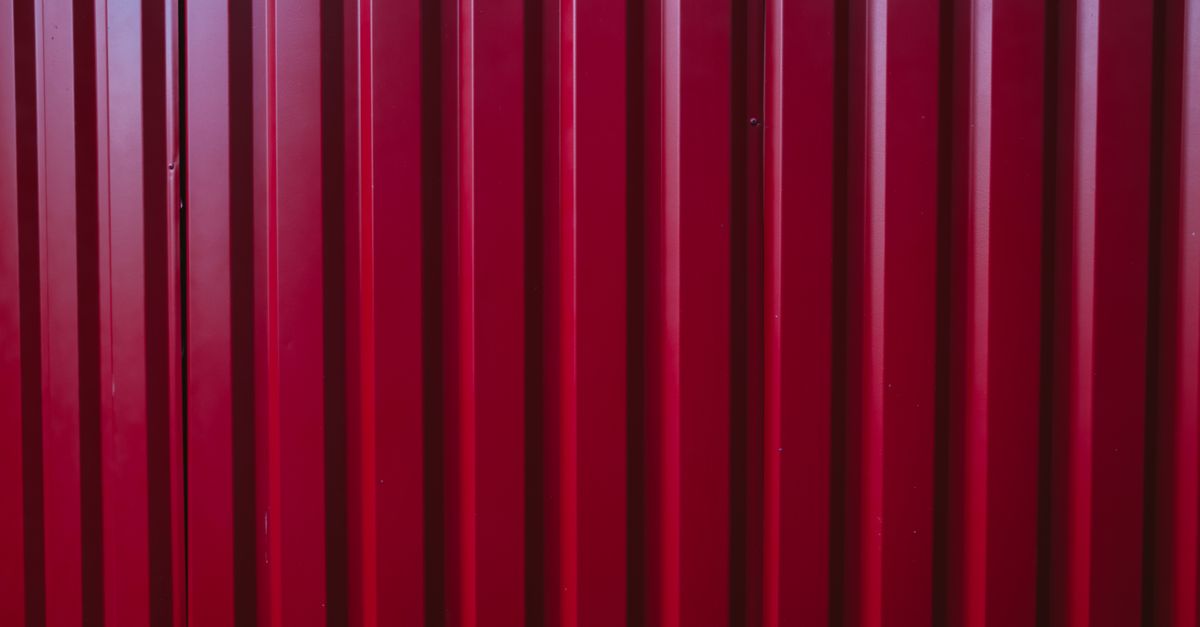
Attaching Colorbond Panels
Before attaching the Colorbond panels, ensure that the posts are securely in place and perfectly vertical. This ensures the structure’s stability and durability. Use a level to verify the alignment of the posts. Once confirmed, begin attaching the panels starting from one end and working your way down to the other. Each panel should slide into the rails of the posts. Be careful to align the panel with the previous one for a seamless look.
Utilise a rubber mallet to gently tap the panels into position, avoiding any damage. Use screws specifically designed for Colorbond materials to ensure a secure fit. Pre-drill holes if necessary to make the process smoother and prevent any cracking. Regularly check the alignment as you progress to maintain an even and professional finish. This attention to detail will enhance the overall strength and appearance of the fence.
Step-by-Step Guide to Panel Installation
Begin by gathering all necessary tools and materials. You will need measuring tape, a level, a saw for any adjustments needed, and a power drill. Ensure the area is clear of debris and obstacles. Mark out the fence line accurately using stakes and string lines to achieve a straight alignment. Start by digging post holes at specified intervals according to the local regulations and Colorbond specifications. The depth and width of these holes should accommodate the posts for stability.
Once the holes are prepared, insert the posts and pack them with gravel or concrete to secure them firmly. Check that each post is vertically aligned using a spirit level. After the posts have set, begin attaching the Colorbond panels, making sure to follow the manufacturer’s guidelines for spacing and orientation. Secure the panels using approved fastening methods to ensure they are stable. Regular checks during the installation process will help ensure that panels are straight and properly aligned.
Incorporating Gates into Your Fencing
When planning your Colorbond fencing installation, it is essential to consider the incorporation of gates that suit both functionality and aesthetics. The selection of gates should complement the style and colour of your fencing. Various designs are available, including single and double gates, which offer different advantages depending on your needs. Ensure the gate material matches the durability and finish of your Colorbond panels for a cohesive look.
Proper installation of gates is crucial for both security and ease of use. Begin with accurate measurements to ensure a perfect fit within the fence line. Use robust hinges and latches to support the gate structure, providing a smooth operation and longevity. Regular maintenance of the gate hardware will ensure that it remains functional and secure over time, adding value to your overall fencing project.
Selecting and Installing Gates with Colorbond Fencing
When considering gates for Colorbond fencing, it's important to select a design that complements the overall aesthetics of your property. Various options are available, including single swing gates, double gates, and sliding gates. Each type has its own advantages and space considerations. Ensure that the gate matches the colour and profile of your fencing panels for a cohesive look. Furthermore, factor in the gate's functionality as it should accommodate regular use while providing security.
Installation requires careful measurement and alignment to ensure smooth operation. Begin with a level foundation to prevent future misalignments. Attach hinges securely to support the weight of the gate, and consider using a latch system that offers durability and ease of use. Pay attention to the alignment during the installation process; this step is crucial for ensuring that the gate opens and closes without obstruction. Properly installed gates enhance not only the style of your fencing but also its practicality and safety.
Maintenance Tools for Colorbond Fencing
To ensure your Colorbond fencing remains in excellent condition, it is important to have the right maintenance tools on hand. A simple brush with soft bristles can effectively remove dirt and debris without damaging the metal surface. For tougher stains, a mild detergent mixed with water will work wonders, allowing you to maintain the appearance of your fence without causing any harm.
Regular inspections are crucial for identifying any signs of wear or damage. A pair of safety goggles will protect your eyes during these checks, particularly when examining the bases of the panels. Metal file tools can be helpful for smoothing any rough edges or minor corrosion. Keeping these tools readily available will help you attend to maintenance quickly and efficiently, promoting longevity in your Colorbond fencing.
Keeping Your Fence in Top Condition
Regular cleaning is essential for maintaining the aesthetic appeal and durability of Colorbond fencing. Use a soft brush or a sponge along with mild detergent to remove dirt, dust, and any accumulated debris. This simple procedure prevents the build-up of grime that can lead to corrosion or discolouration over time. Be mindful to rinse thoroughly with water after cleaning to ensure no detergent residue is left behind.
Inspecting your fence periodically will help identify any potential issues before they become serious problems. Look for signs of wear, such as scratches or dents, and address them promptly. If you spot any rust, treat it immediately with a wire brush and apply a metal primer before repainting. Keeping the area around the fence clear from vegetation prevents moisture retention and allows for proper air circulation, further enhancing the longevity of your Colorbond fencing.
FAQS
What are the essential tools needed for installing Colorbond fencing?
The essential tools for installing Colorbond fencing include a post-hole digger, level, tape measure, power drill, fasteners, and a fencing plier.
How do I attach Colorbond panels securely?
To attach Colorbond panels securely, ensure that the panels are aligned properly, use appropriate fasteners, and follow a step-by-step guide to ensure each panel is fitted tightly to the posts.
Can I incorporate a gate into my Colorbond fencing?
Yes, you can incorporate a gate into your Colorbond fencing. It's important to select a gate that matches your fencing style and follow the specific installation guidelines for fitting it properly.
What maintenance tools should I have for Colorbond fencing?
Maintenance tools for Colorbond fencing include a soft brush for cleaning, a garden hose for rinsing, and a ladder or step stool for reaching higher sections during inspection and maintenance.
How can I keep my Colorbond fence in top condition?
To keep your Colorbond fence in top condition, regularly clean it, inspect it for any damage, and address any issues promptly. Avoid using abrasive cleaners which can scratch the surface.
Related Links
The Ultimate Tool Kit for Colorbond Fencing InstallationMust-Have Equipment for Colorbond Fencing Projects
Cost-Effective Tools for DIY Colorbond Fencing Installation
Choosing the Right Leveling Tools for Colorbond Fencing
Innovative Tools to Ensure Precision in Colorbond Fencing
Manual Tools You Can’t Ignore for Colorbond Fencing Setup
Work Smart: Essential Power Tools for Colorbond Fencing
Safety Gear to Consider When Installing Colorbond Fencing
Comparing Tools for Effective Colorbond Fence Assembly