The Ultimate Tool Kit for Colorbond Fencing Installation
Table Of Contents
Installing Fence Posts
Fencing posts serve as the backbone of any Colorbond installation, providing essential support and stability. Begin by determining the desired distance between posts, typically around 1.8 metres apart, while considering local regulations. Mark the positions clearly using stakes or spray paint, ensuring they are aligned for a professional finish. Dig post holes to a depth of about 600mm, allowing for secure anchorage and reducing the risk of movement. Ensure the holes are wider than the posts themselves to accommodate gravel for drainage.
Once the holes are prepared, insert the posts and check their vertical alignment with a spirit level. Reinforcing the posts with concrete stabilises them further, offering durability against winds and ground shifts. Pour the concrete mix around the posts, filling the holes generously, and allow it to set according to the manufacturer's instructions. This foundational step is critical in achieving a robust Colorbond fence that withstands the test of time.
Techniques for Secure Post Placement
Achieving stable and secure fence posts is crucial for the longevity of your Colorbond fencing. Start by marking the positions of each post with precision, ensuring that they are spaced according to the specifications of your chosen panels. Digging the holes to the correct depth is vital, as this provides a solid foundation. In general, the holes should be at least one-third the height of the fence post. When placing the post into the hole, use a plumb line or level to check its vertical alignment. Adjust as necessary to ensure that each post is upright.
Once in position, backfill the hole with concrete or compacted gravel for added stability. If using concrete, allow it to set for at least 24 hours before attaching sheets, helping to maintain proper alignment during the installation process. It's also advisable to add temporary bracing to hold the posts steady while the concrete cures. This precaution will prevent any movement that could compromise the structural integrity of your fence.
Attaching Colorbond Sheets
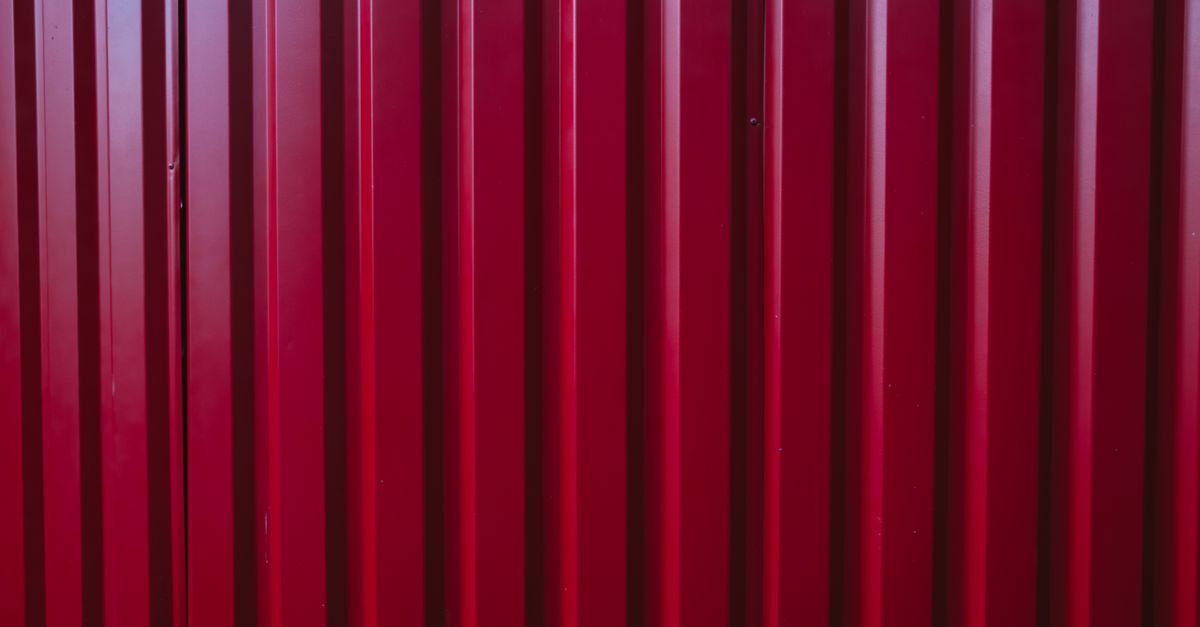
When it comes to attaching the Colorbond sheets, ensuring the correct alignment is crucial for a neat finish. Start by placing the first sheet at one end of the fence line, making sure it sits flush against the top and bottom rails. Use a spirit level to confirm that it is perfectly vertical before securing it in place. For added stability, position the sheet approximately 10mm above the ground to prevent moisture damage while allowing for proper drainage.
Next, secure the sheets using appropriate screws or fastening clips designed for Colorbond fencing. These fasteners should be placed at regular intervals along the sheet's edges to prevent movement in windy conditions. It is important to avoid over-tightening, as this can create unnecessary stress on the material and lead to warping. A consistent approach in fastening will not only enhance the aesthetic appeal but also ensure the longevity of your Colorbond fence.
Tips for Properly Securing the Sheets
When handling Colorbond sheets, it is essential to ensure they are installed with precision and care. Begin by aligning the sheet with the pre-installed posts, ensuring it sits flush against them. Use a spirit level to check for levelness, adjusting as necessary before proceeding. Each sheet should be secured using appropriate fasteners that are resistant to corrosion, suitable for outdoor conditions. This not only enhances durability but also helps maintain a clean aesthetic for the fence.
Once positioned, the next step is to secure the sheets to the posts effectively. At intervals along the sheet, place fasteners according to the manufacturer's recommendations, typically every few centimetres. Ensure the screws penetrate into the steel posts for a solid hold. Additionally, using a rubber or foam washer under each screw can help create a watertight seal, preventing moisture ingress that could lead to rust or damage over time. Proper fastening techniques guarantee stability and extend the life of the Colorbond fencing.
Adding Gates and Accessories
Integrating gates and accessories enhances both functionality and aesthetic appeal of your Colorbond fencing. When selecting a gate, consider the width and height appropriate for your property. A standard single gate is typically 1 metre wide, but for larger vehicles, a double gate may be necessary. Ensure the gate aligns with your fencing style; choosing a gate that matches the colour and profile of your Colorbond sheets creates a cohesive look.
The type of hardware you choose for installation plays a critical role in the performance and durability of your gate. Hinge quality should not be overlooked; opt for heavy-duty options designed for outdoor exposure. A sturdy lock is essential for security, particularly if you have pets or children. Accessories such as gate latches and stops can help maintain proper function and appearance. Selecting the right materials will ensure your gate remains dependable and enhances the overall effectiveness of your fence.
Selecting the Right Hardware for Your Fence
Choosing the correct hardware is essential for ensuring the durability and functionality of your Colorbond fence. It is crucial to select quality fixtures that are designed to withstand the elements typical of the Australian climate, including corrosion. Common components include gate hinges, latches, and corner brackets, all of which need to be of a material that complements the metals in the Colorbond sheets to prevent electrolysis.
Consider the ease of installation when selecting hardware. Many products are specifically designed for DIY enthusiasts, featuring straightforward installation processes. Opting for self-closing hinges and easy-to-operate latches can enhance the convenience of your gates. Ensure that all hardware aligns with the specifications of your fence design to achieve a cohesive look and maximise functionality.
FAQS
What tools do I need for installing Colorbond fencing?
For installing Colorbond fencing, you will need a range of tools including a post hole digger, level, hammer, tape measure, impact driver or drill, and a saw for cutting sheets if necessary.
How deep should I dig the post holes for Colorbond fencing?
It is generally recommended to dig post holes at least one-third of the total height of the fence, which typically means 600mm to 900mm deep, depending on the height of the fence.
Can I install Colorbond fencing on my own, or do I need professional help?
While it is possible to install Colorbond fencing on your own if you have the necessary tools and skills, enlisting professional help can ensure a more precise and efficient installation.
What type of hardware is best for attaching Colorbond sheets?
It is recommended to use Colorbond-specific screws and fasteners, as they are designed to provide a secure and weather-resistant connection between the sheets and the posts.
Are there any special considerations for adding gates to Colorbond fencing?
Yes, when adding gates to Colorbond fencing, it is important to select appropriately sized hinges and latches designed for outdoor use, and to ensure that the gate is properly aligned for smooth operation.
Related Links
Safety Gear to Consider When Installing Colorbond FencingEssential Tools for Installing Colorbond Fencing in Melbourne
Cost-Effective Tools for DIY Colorbond Fencing Installation
Choosing the Right Leveling Tools for Colorbond Fencing
Innovative Tools to Ensure Precision in Colorbond Fencing
Manual Tools You Can’t Ignore for Colorbond Fencing Setup
Work Smart: Essential Power Tools for Colorbond Fencing
Must-Have Equipment for Colorbond Fencing Projects
Comparing Tools for Effective Colorbond Fence Assembly